Utils’ Item List
As Utils grew in complexity, the mod ended up outgrowing the default Twitch Toolkit item list. As a result, the mod comes with its own item list that supports all the latest features within ToolkitUtils. In fact, it’s mostly usable if you ever wanted to use it as a standard Twitch Toolkit item list too. In any case, the new list properly reflects the different types of events within the mod, like traits having their own dedicated pricing page. Below are a list of steps required to setup a custom item list for your stream. While these steps try to walk you through each step in the process, there may be some gaps. Any and all questions should be asked on the Discord.
Table of contents
Prerequisites
In order to setup your item list, you’ll need a Github account. If you already have an account, you can continue onto the next step. If you don’t you can sign up for Github here.
Forking the Item List
The first step in this process is forking the item list on Github. 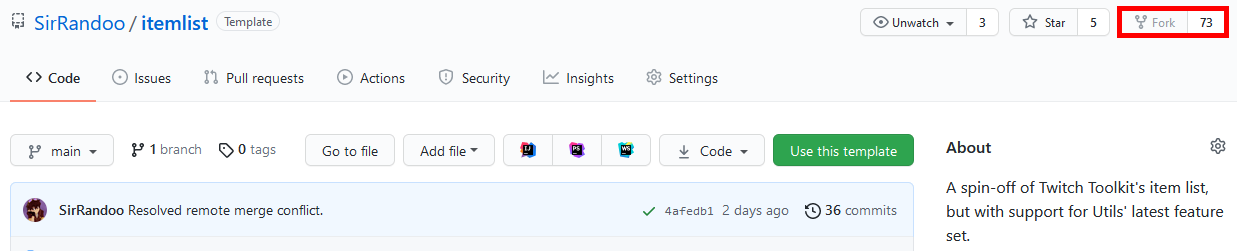
Before we begin, it’s important to mention that you probably won’t break your item list with the changes you may or may not make to it. It’s meant to be as beginner friendly as possible, with this page as a guide to the few instances where it isn’t. Those instances are:
Editing YAML Files
You’ll be editing a yaml (.yml) file or two if you plan on tailoring the site to your needs. The important thing about yaml files is that you need to have a space after the :, or your site won’t build with the latest changes.
Making Changes
Whenever you make changes to the contents of the site, Github tries to rebuild the site. Beside the changes you’ve made, there is a green check, small X, or a loading icon. Clicking on either of those icons, then clicking Details in the pop-up will take you to the current status of the build process. If the site didn’t build properly, this would be the main way to figure out what went wrong. If everything went okay, and your site still isn’t updated, your browser may have cached what your item list was prior to the changes. You can clear the cache by doing CTRL+R.
Configuring the Url
Once Github is finished forking your item list, you can navigate to the repository’s settings page. 
From the settings page, you can rename your repository by changing the text in Repository name, then clicking Rename. 
If you’ve never used Github before or otherwise don’t have an existing repository named YOUR_GITHUB_USERNAME.github.io, you can rename your item list that instead of YOUR_GITHUB_USERNAME.github.io/REPOSITORY_NAME. If you do choose to do this, you will need to edit the site’s _config.yml file to make sure your item list doesn’t look like a broken site. The relevant setting can be found on line 6 (baseurl). The value for that should be empty or /.
Verifying the Site Source
Next we’ll be ensuring the item list is pulling the right files for the site. In order to do that, we’ll need to navigate to the Pages section in the list of pages on the left. 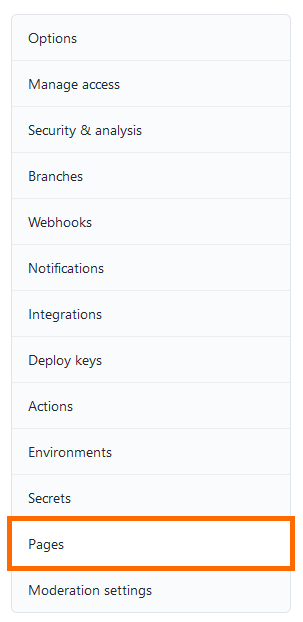
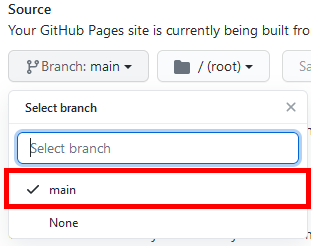
Once we’re in the pages settings, we can then look at the Source setting to ensure it’s pulling from the main branch.
The item list provides its own theme. You do not need to change it in the theme settings, and changing it may not have any meaningful effect.
Using a Custom Domain
In the Pages settings, you can scroll farther down to the Custom domain settings. In this field you can provide a custom domain to use instead of the github.io one from above. If you don’t have a custom domain, you can simply skip to the next step. 
Configuring Your Item List
Now that you’re done tinkering with the Github settings for your item list, you can move on changing the settings within your item list. To do this, you’ll first need to return back to the “repository” view that you were first greeted with. You can do this by clicking the Code button in the ribbon at the top. 
Within this view, you then need to click on the _config.yml file. You should be on a page that looks like this: 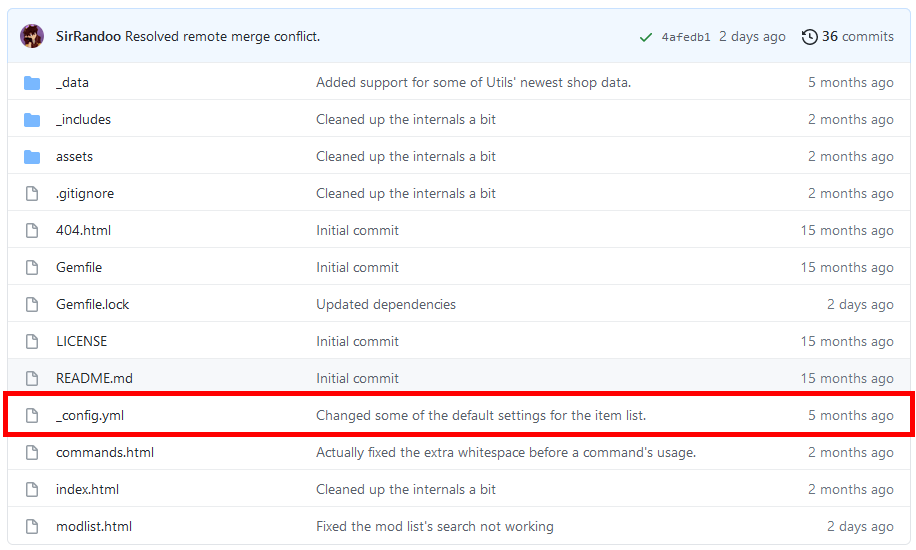
Here, you can change the following fields:
| Line # | Type | Description |
|---|---|---|
| 2 | string | The title of the item list as it appears in your browser’s tab. |
| 4 | string | The description of the item list as it appears in search engines. |
| 7 | string | The subpath of your site. If you’ve renamed your site to YOUR_GITHUB_USERNAME.github.io, you should change this field to '', else this should be a url friendly version of what you named your repository. |
| 8 | string | The url of your site. If you used a custom domain, this should be that. |
| 9 | string | Your Twitter username. |
| 10 | string | Your Github username. |
| 13-50 | boolean | Changes various aspects of the store page. The comments above the settings themselves describe what they do. |
| 54-58 | boolean | Changes various aspects of the commands page. The comments above the settings themselves describe what they do. |
| 62-64 | boolean | Changes various aspects of the mods page. The comments above the settings themselves describe what they do. |
Personalizing Your Item List
Next we’ll be personalizing your item list. To do this, we’ll need to navigate to the _data directory. 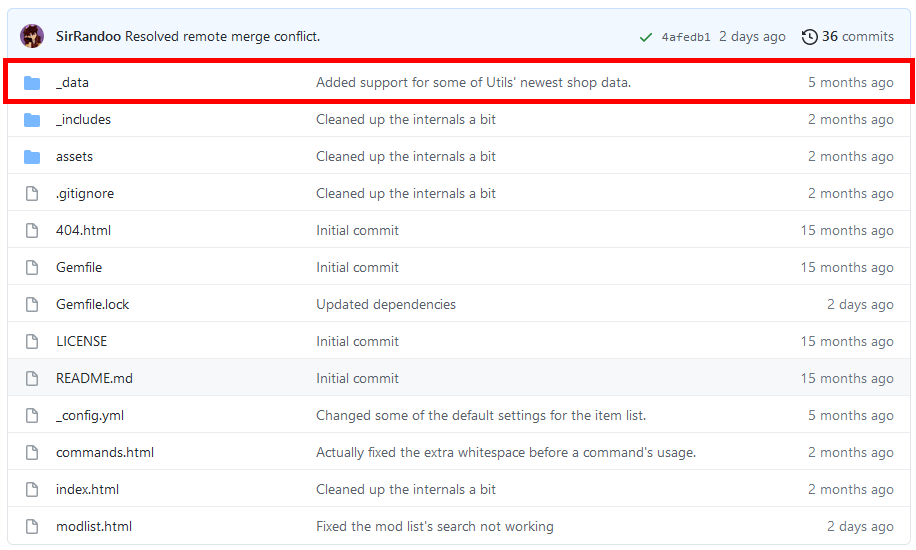
Adding Social Icons
From the _data directory, we’ll navigate to the social.yml file. 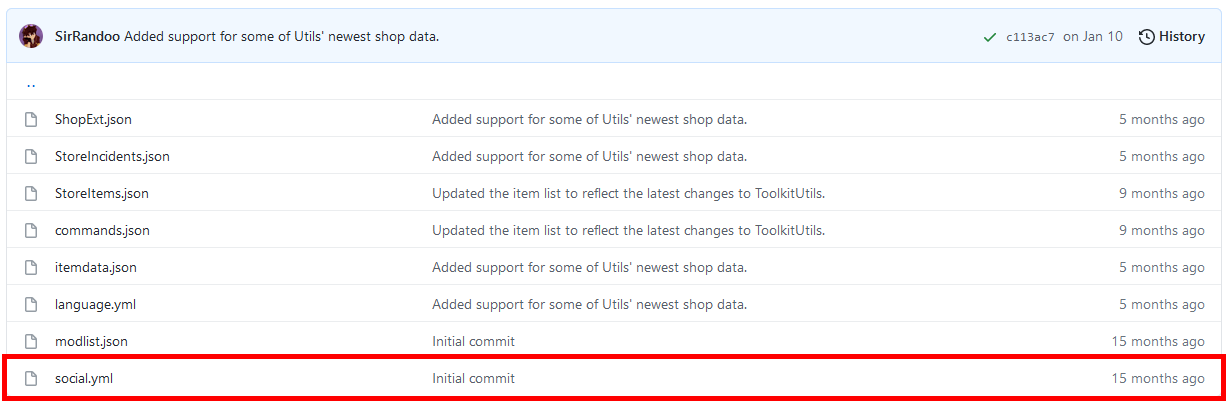
Everything in this file can be changed to your username on the given platform, with the exception being the bottom couple of settings. The bottom settings, while not used in the item list, must be either true or false.
Translating the Item List
From the _data directory, we’ll navigate to the language.yml file. 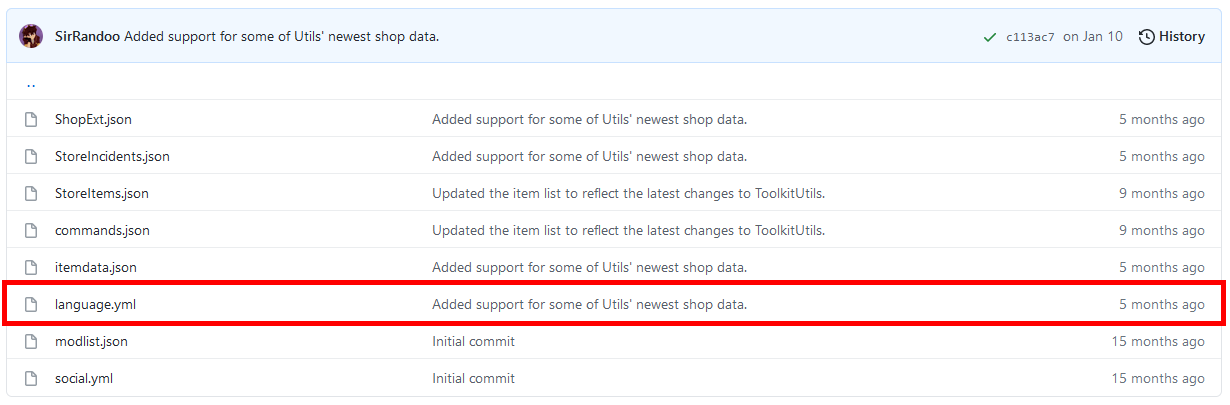
Everything in this file can be translated to the language your target audience in most comfortable using.
Uploading Your Toolkit Files
From the _data directory, we’ll navigate to the various Toolkit files to update their contents. For the sake of demonstration, we’ll use the StoreItems.json file throughout these examples. You can find the files respective contents in the Twitch Toolkit directory in your game’s save data folder. If you’re not sure where your save data folder is, you can find it easily by launching RimWorld, clicking the Options button in the game’s main menu, and finally clicking Save data folder. Alternatively, the folder can be found by navigating to the directory below on your respective platform:
- Windows:
%UserProfile%\AppData\LocalLow\Ludeon Studeos\RimWorld by Ludeon Studios\Twitch Toolkit - MacOS:
~/Library/Application Support/Ludeon Studios/RimWorld by Ludeon Studios/Twitch Toolkit - MacOS:
~/Library/Application Support/RimWorld/Twitch Toolkit - Linux:
~/.config/unity3d/Ludeon Studios/RimWorld by Ludeon Studios/Twitch Toolkit
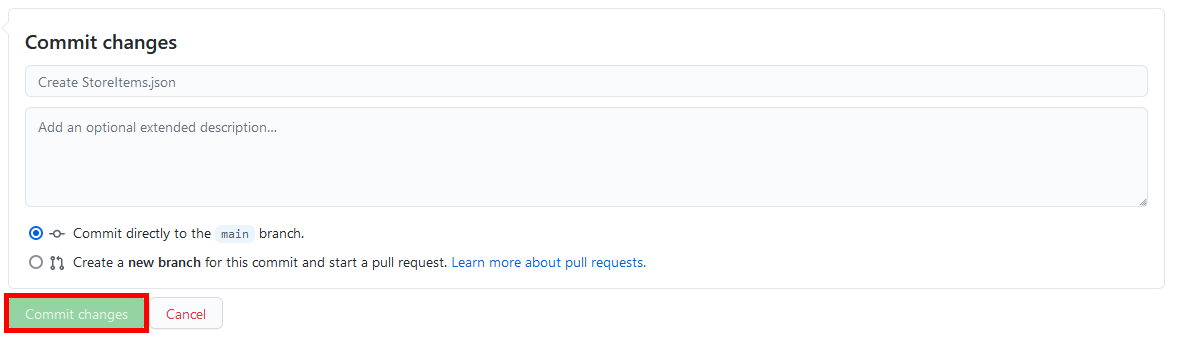
Next you should open the file you want to edit by clicking on it. 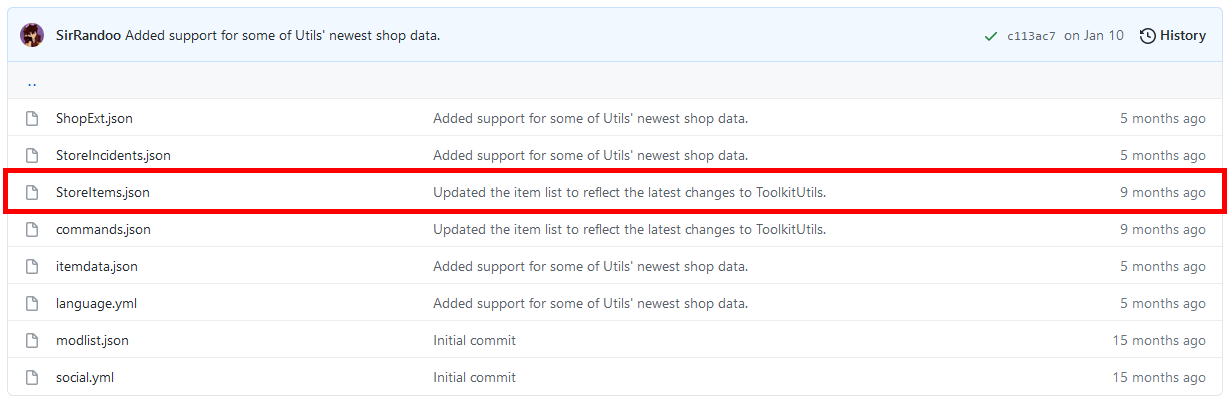
Then we’ll edit the file by clicking the pencil on the right side of the document viewer. 
Lastly, we’ll commit the changes by scrolling to the bottom of the page, then clicking Commit changes.